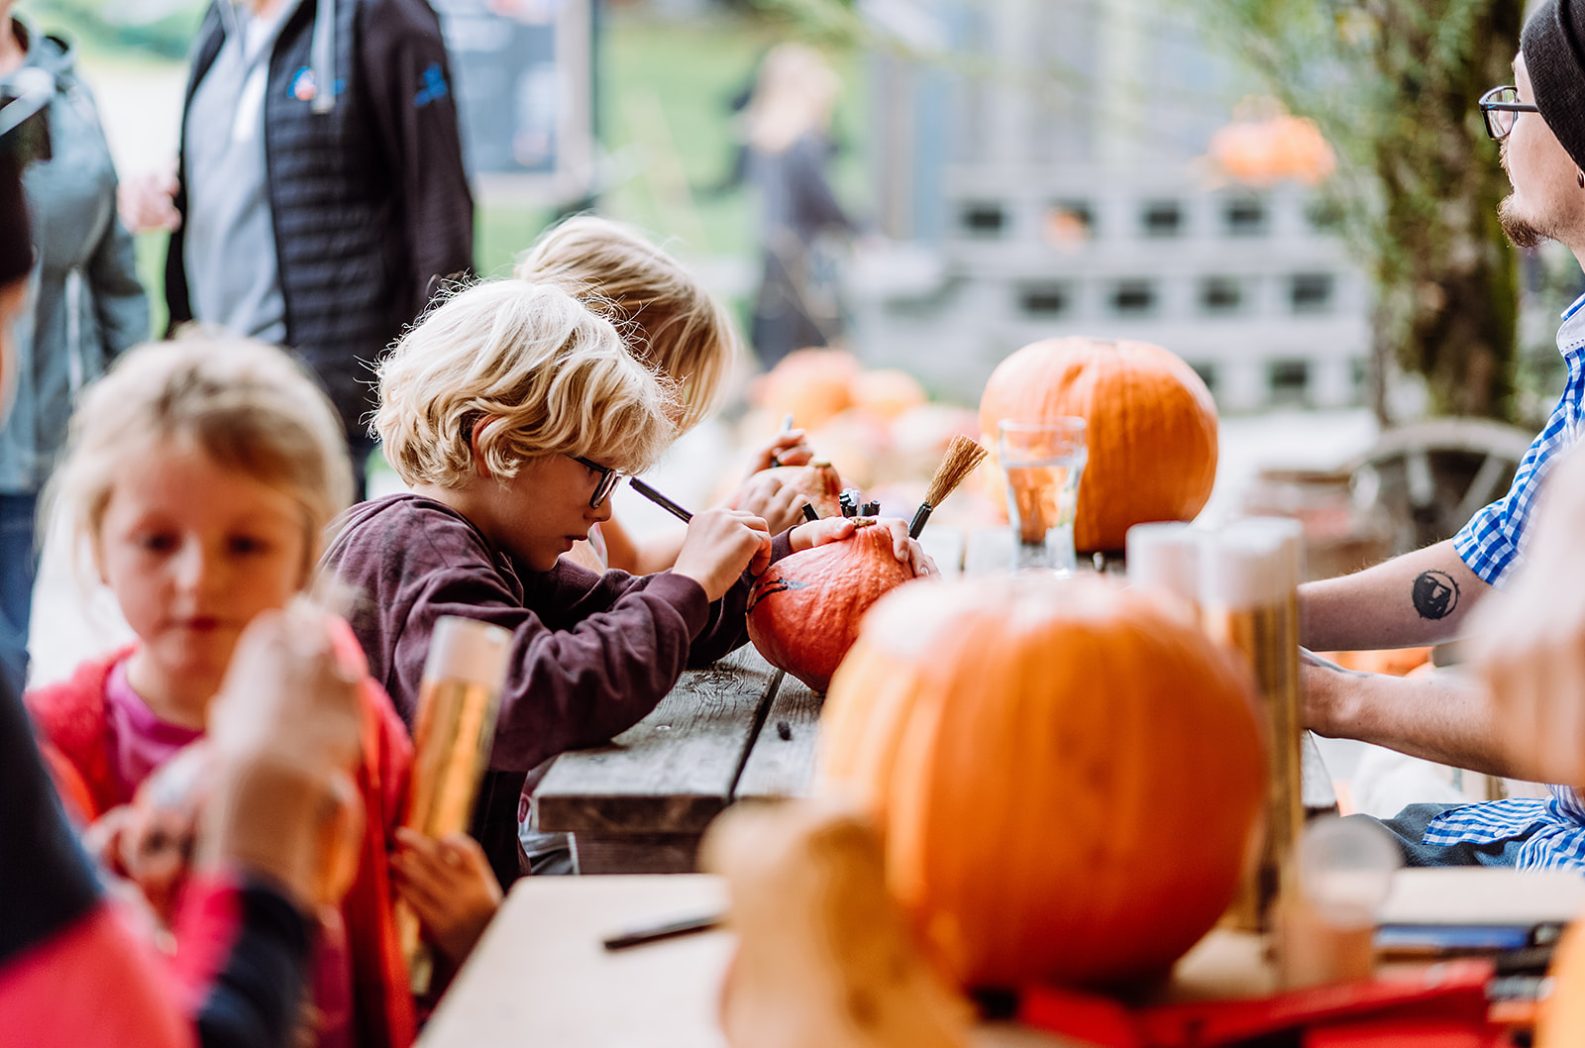
Carve, marvel and cook during the pumpkin weeks
The Hexenwasser witches don’t celebrate Halloween, but they do celebrate their favourite ‘witch vegetable’, the pumpkin, in autumn. The Pumpkin Weeks were celebrated on the mountain for the first time in October 2023. More than 800 pumpkins were processed, eaten and displayed on the mountain. Visitors were delighted by the colourful daily programmes based around the orange superfood. There will be a new edition of the Pumpkin Weeks in October 2024.
No spookiness, but plenty of mysticism and flavour
Halloween is often associated with scary witches. However, the friendly and wise Hexenwasser witches have nothing at all to do with the festival of horror and terror. Even if the custom is not, as many believe, a US American fad, but originates from an ancient Celtic festival. *
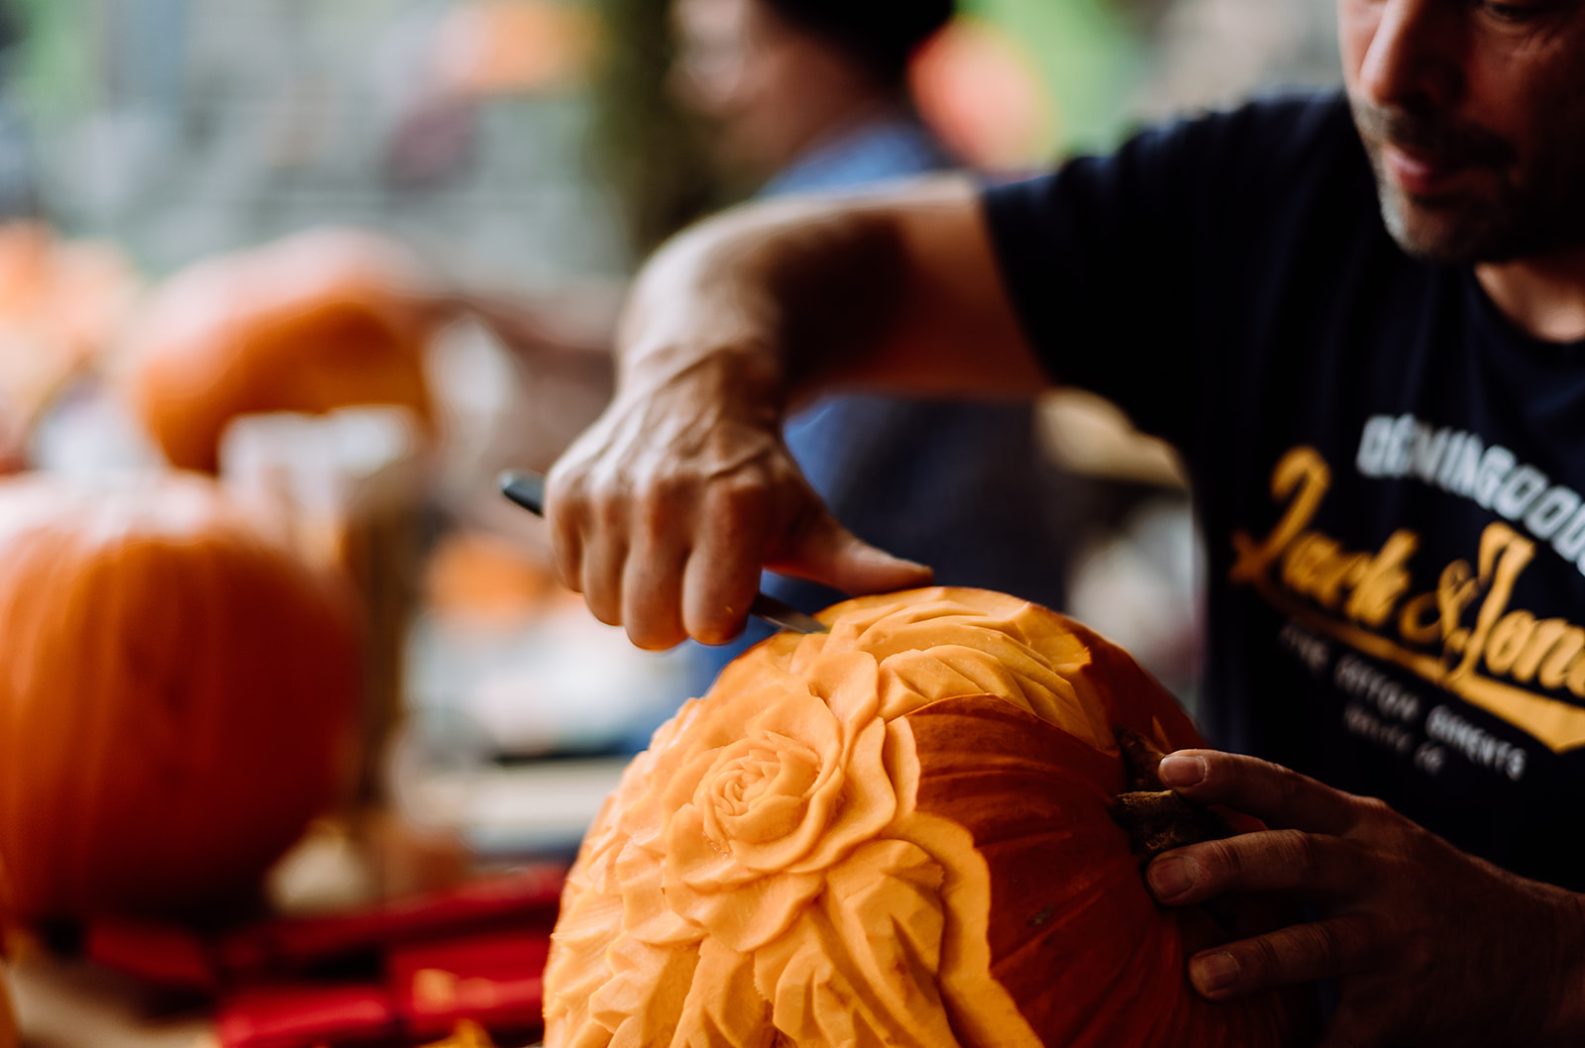
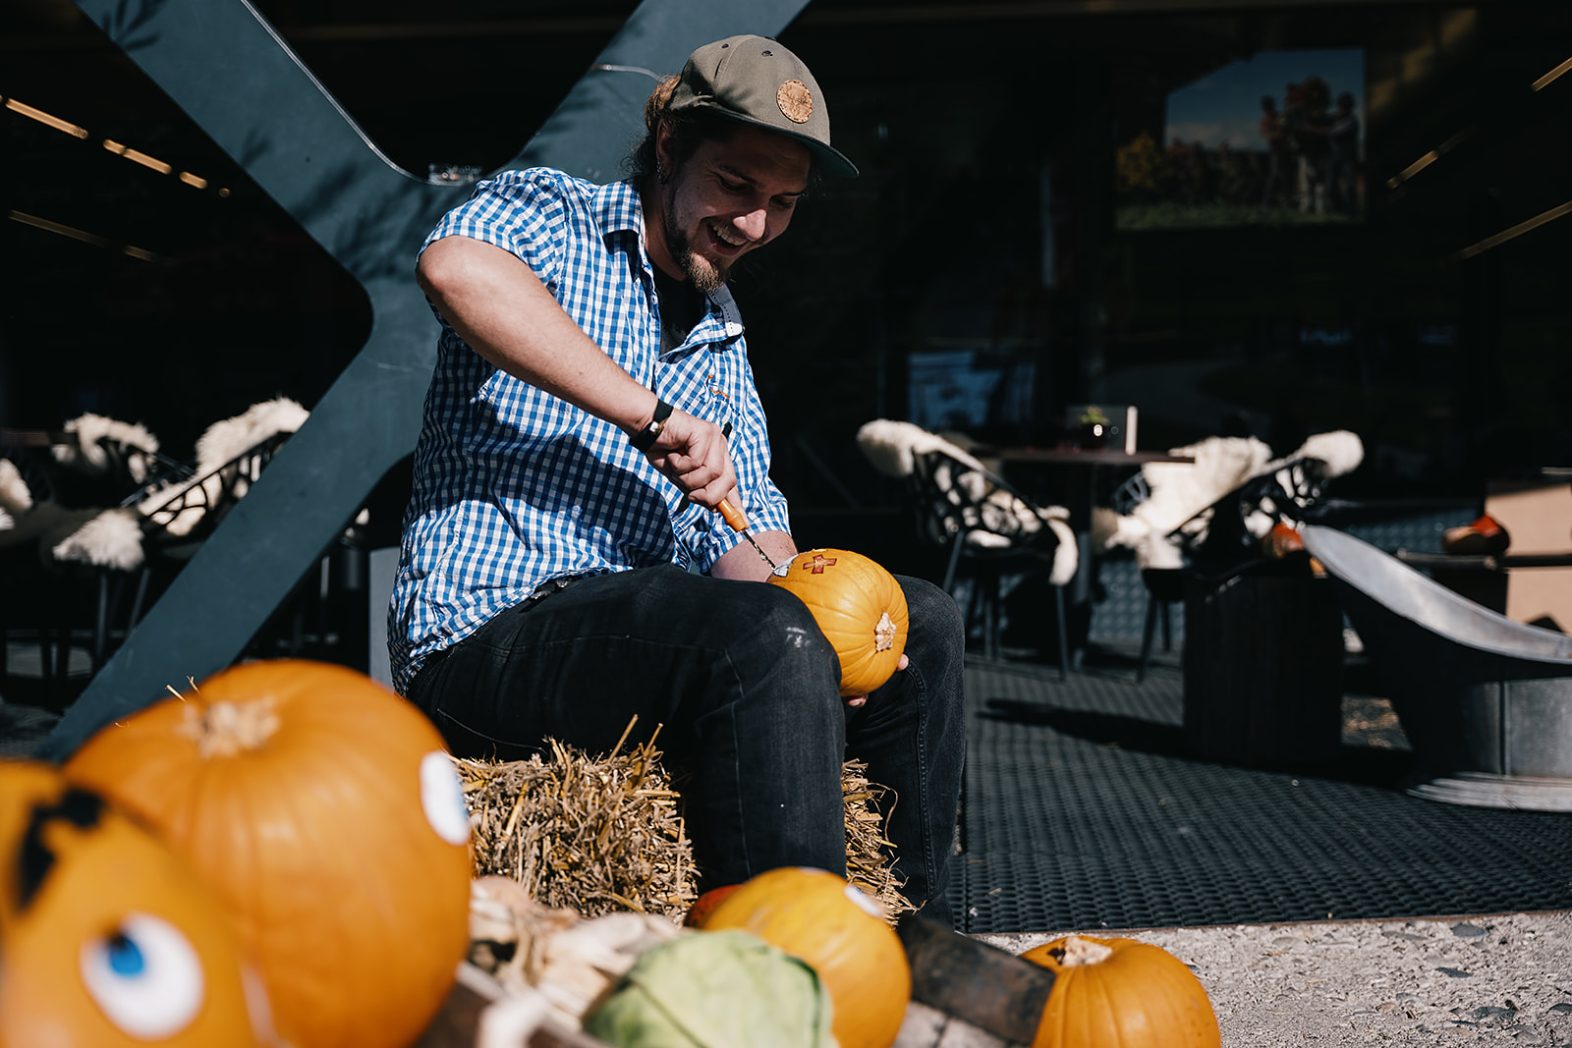
The harvest of the colourful and healthy vegetables is reason enough for the witches to organise a party. They carve, decorate and cook. A pumpkin exhibition in the mystical witchcraft cellar is open daily, pumpkin dishes can be tasted in the witches’ kitchen and children are invited to paint their own pumpkins. They even created their own pumpkin liqueur in 2023. Several professional pumpkin carvers and pumpkin painters will also be on site to show off their skills. At the season finale, the orange works of art are given away to visitors at 12.12 pm. Last autumn, the most artistic specimens were in such high demand that many a pumpkin fan stood next to the object of desire until the ‘take-away gong’ sounded.
* The Celts called this holiday ‘Samhain’ and celebrated the end of summer and the beginning of the cold season. According to Celtic belief, the veil that separates our world from the world of the dead (‘Otherworld’) is particularly thin at this time. The inhabitants of the Otherworld, fairies and elves, but also the spirits of the dead can cross over and visit the world here.
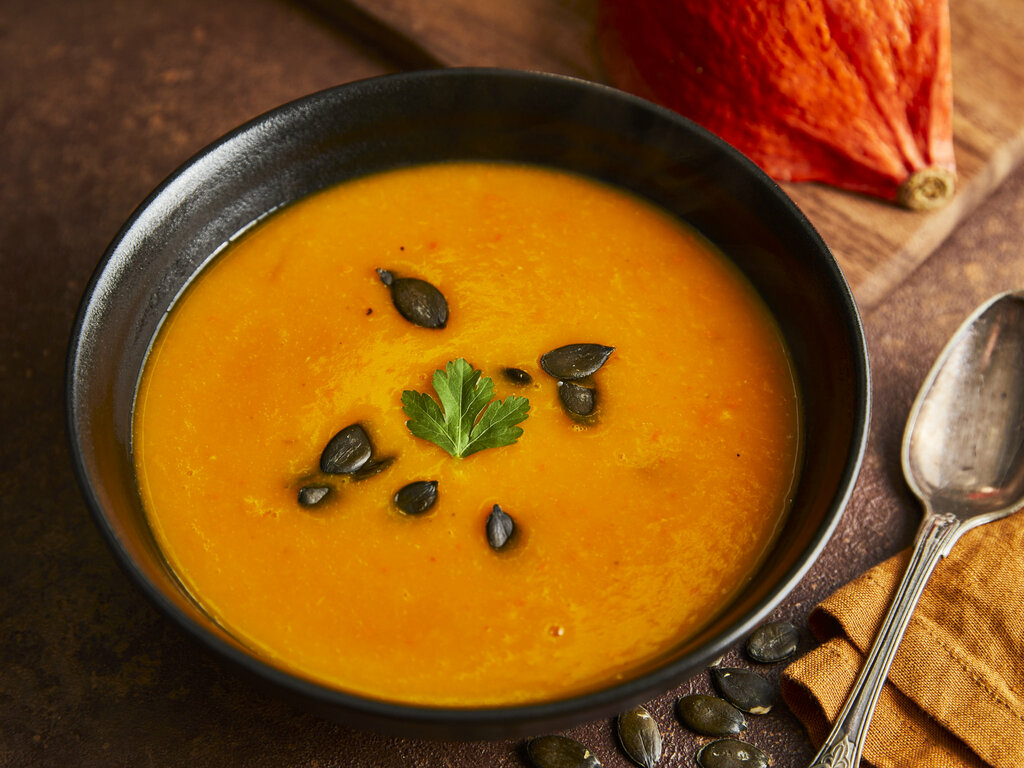
Here’s our very simple soup recipe to follow
- 1 kilogram of Hokkaido
- 2 tbsp olive oil (for frying)
- 1 onion
- 1¼ litre vegetable stock
- Salt (to flavour)
- Wash the pumpkin, cut in half and remove the seeds. Then cut into small pieces.
- Peel and dice the onion.
- Heat the oil in a large pan and fry the onion and pumpkin pieces briefly. Then pour in the stock and simmer the simple pumpkin soup for about 30 minutes with the lid on.
- When the pumpkin flesh is soft, remove the soup from the heat and puree with a hand blender. Season to taste with salt and serve on plates.
Would you like to become a pumpkin artist at home?
With our instructions, you’ll be hollowing out, cutting and carving in no time at all.
But before you start carving the spooky faces, you need a suitable pumpkin and the right tools.
Ideal pumpkin varieties for carving
The Halloween pumpkin, also known as the giant pumpkin, gives it away in its name: The large and round variety is ideal if you want to carve a pumpkin. However, there is not just one real Halloween pumpkin. You can also carve varieties such as the Orange Knirps, the Hokkaido or others if they are the right size.
When buying, make sure that the pumpkin is ripe but not yet mushy. The best way to recognise ripeness is by a dried stem and a hollow, dull sound when tapped. The pumpkin should have a nice hard skin that cannot be easily dented.
Tip: Depending on the pumpkin, you can use the flesh to make a delicious pumpkin soup. (Recipe below)
The right tools for pumpkin carving
Knife: Use a sharp knife that is as narrow and pointed as possible. If you want to cut very fine elements, you can also use a scalpel or carving knife. Follow the relevant instructions if you are using such professional knives. There are also special carving tools with rounded tips for carving pumpkins with children.
Spoon: A normal tablespoon is suitable for scraping out the pumpkin, but a melon cutter or ice-cream scoop can also be used.
Felt-tip pen: Before you start carving, you can draw the desired face on the pumpkin. This will make it easier to cut out and carve later.
Step 1: Remove the lid correctly
Before you carve the pumpkin, the lid must first be removed. To do this, cut all around the top of the pumpkin with a knife. The opening should be large enough for your hand to fit through with the tool. To prevent the lid from falling into the Halloween pumpkin when you put it on later, you should hold the knife at an angle when cutting. The tip of the knife should point slightly towards the stem on the inside of the pumpkin. Children will probably need a little help with this step.
Step 2: Hollow out the pumpkin
Then the hollowing out begins. To do this, take a spoon and scrape out the pumpkin seeds and fibres first. These can go in the organic waste, or the seeds can be roasted in the pan or oven.
Then it’s time to remove the flesh, which you can use for delicious pumpkin recipes.
Be careful not to scrape away too much of the flesh from the walls. This could make the pumpkin too unstable for carving.
Step 3: Colour in the pumpkin face
Draw the desired face on the pumpkin with a felt-tip pen. This makes carving easier because you can simply follow the lines.
For complicated pumpkin faces, it is best to use a template to transfer the desired motif exactly onto the pumpkin.
If you feel confident enough, you can, of course, go about your work without a template.
Step 4: Cut the pumpkin to size with the knife
When carving the pumpkin, it is best to start from the top. First cut out the eyes. This works particularly well with a small kitchen knife. Then follow with the nose and mouth.
You can give the Halloween pumpkin teeth by not cutting away the entire wall where the mouth is marked. Instead, only remove the skin of the pumpkin.
Experienced carving professionals can also try carving larger parts. If you want the contours to be particularly fine, a scalpel can help.
Tip for elaborate carvings: If you want to decorate a pumpkin exclusively or mainly with carvings, the wall should be thin enough, at least in some places, to allow candlelight through later. When carving, make sure that you don’t accidentally break through the pumpkin wall with your tools.
Handyman’s tip: If Dad fancies using the drill for a completely different purpose… The drill can be used to cut perfect holes in the pumpkin. Step 5: Make the pumpkin face last longer
- Rub the inside and cut surfaces of the pumpkin dry with a kitchen towel and coat them with paraffin-free Vaseline or organic milk fat. This will keep the Halloween pumpkin fresh for longer and prevent it from going mouldy.
- If the pumpkin dries out slowly after setting it up, place it in a bucket of water overnight. Then rub dry with kitchen paper, leave to air dry and apply Vaseline again.
- You cannot prevent mould. But in addition to Vaseline, it can also be delayed by the right location, as explained in step 6.
Step 6: Illuminate the pumpkin and position it appropriately
A tea light is ideal for illuminating your Halloween pumpkin. Once you have lit it and placed it inside, you can put the lid back on. However, check that nothing burns on the inside of the lid. As an alternative to a real candle, you can also use a string of LED lights to illuminate the pumpkin.
The heat from the candle fire can cause the lid to get hot, dry out and soon fall into the pumpkin. If the pumpkin is so small that there is a risk of this happening, you should simply leave the lid off. Ideally, you should place the finished pumpkin in a shady spot outside where it will keep much longer in the cold than indoors.
